You want to recover data from an iOS device, iTunes backup, or iCloud backup, but you’re not sure how. iMyFone D-Back is a program that recovers lost data and fixes common software problems on iPhones, iPads, and iPods. In this article, I’ll review iMyFone D-Back iPhone Data Recovery and show you how to recover data on your iPhone, iPad, or iPod!
This post is sponsored by iMyFone, the creators of D-Back iPhone Data Recovery. We don’t recommend software that we don’t believe in, so keep reading to learn how D-Back can help you recover your lost data!
What Types Of Data Can I Recover With iMyFone D-Back?
With iMyFone, you can recover text messages, past call history, contacts, messages from third-party apps, photos, videos, notes, and much more!
Getting Started With iMyFone D-Back
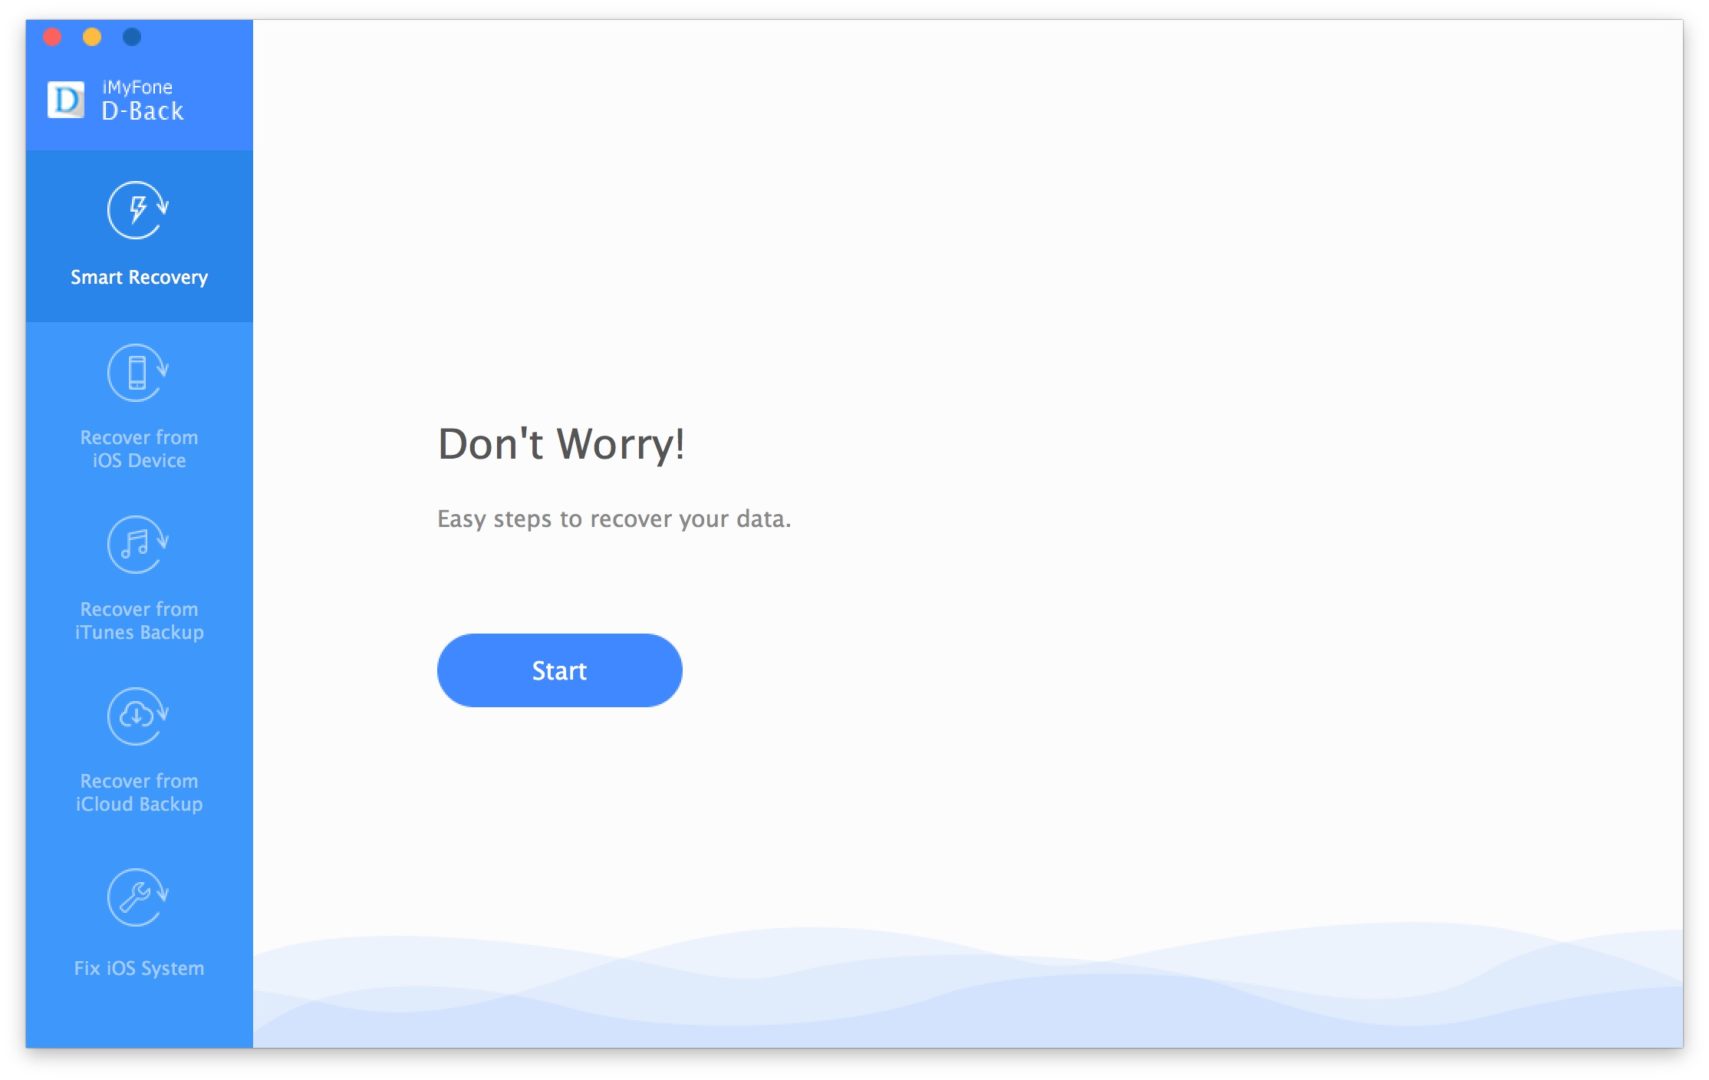
Right away, iMyFone D-Back makes it easy to begin recovering lost data. You can choose one of four recovery methods: Smart Recovery, Recover from iOS Device, Recover from iTunes Backup, or Recover from iCloud Backup.
I chose Smart Recovery, and I recommend that you do as well if it’s your first time using the software. Smart Recovery will always guide you in the right direction based on the way your data was lost or deleted.
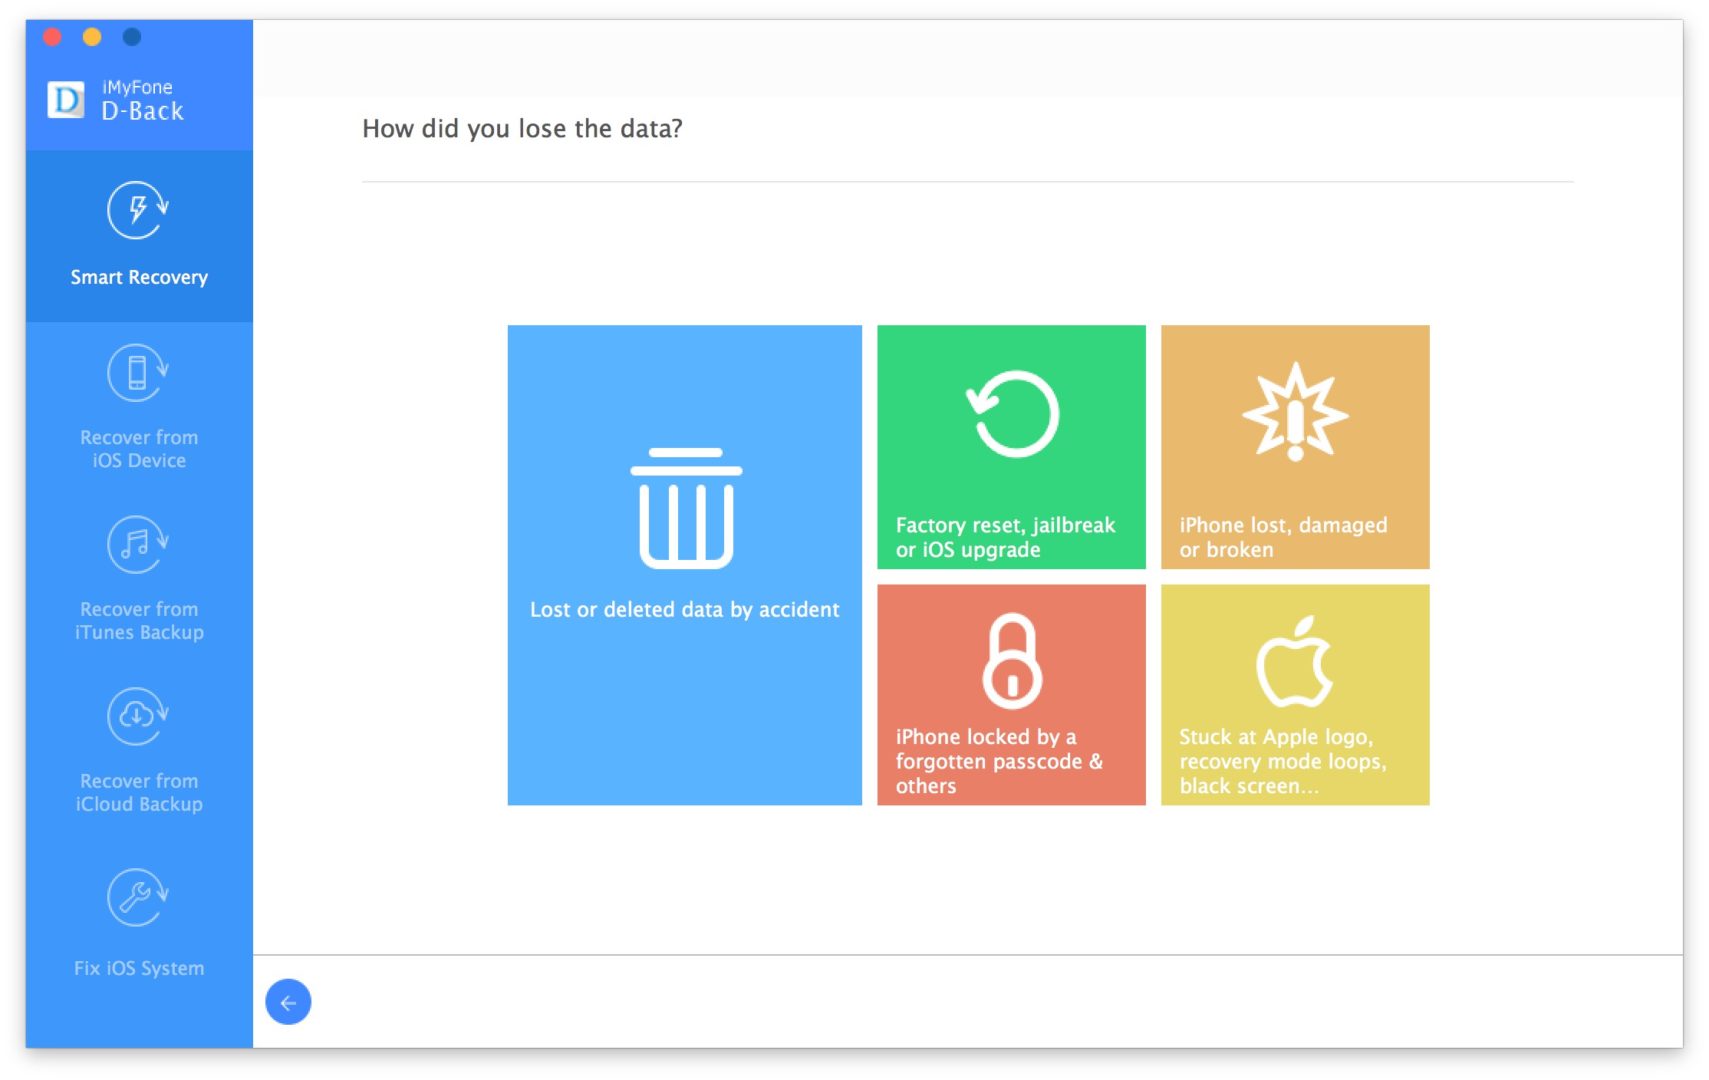
If you click “Lost or deleted data by accident” or “iPhone locked by a forgotten passcode & others”, Smart Recovery will direct you to Recover from iOS Device.
If you click “Factory reset, jailbreak or iOS upgrade” or “iPhone lost, damaged or broken”, Smart Recovery will direct you to Recover from iTunes Backup.
Decide Which Types Of Data You’d Like To Recover
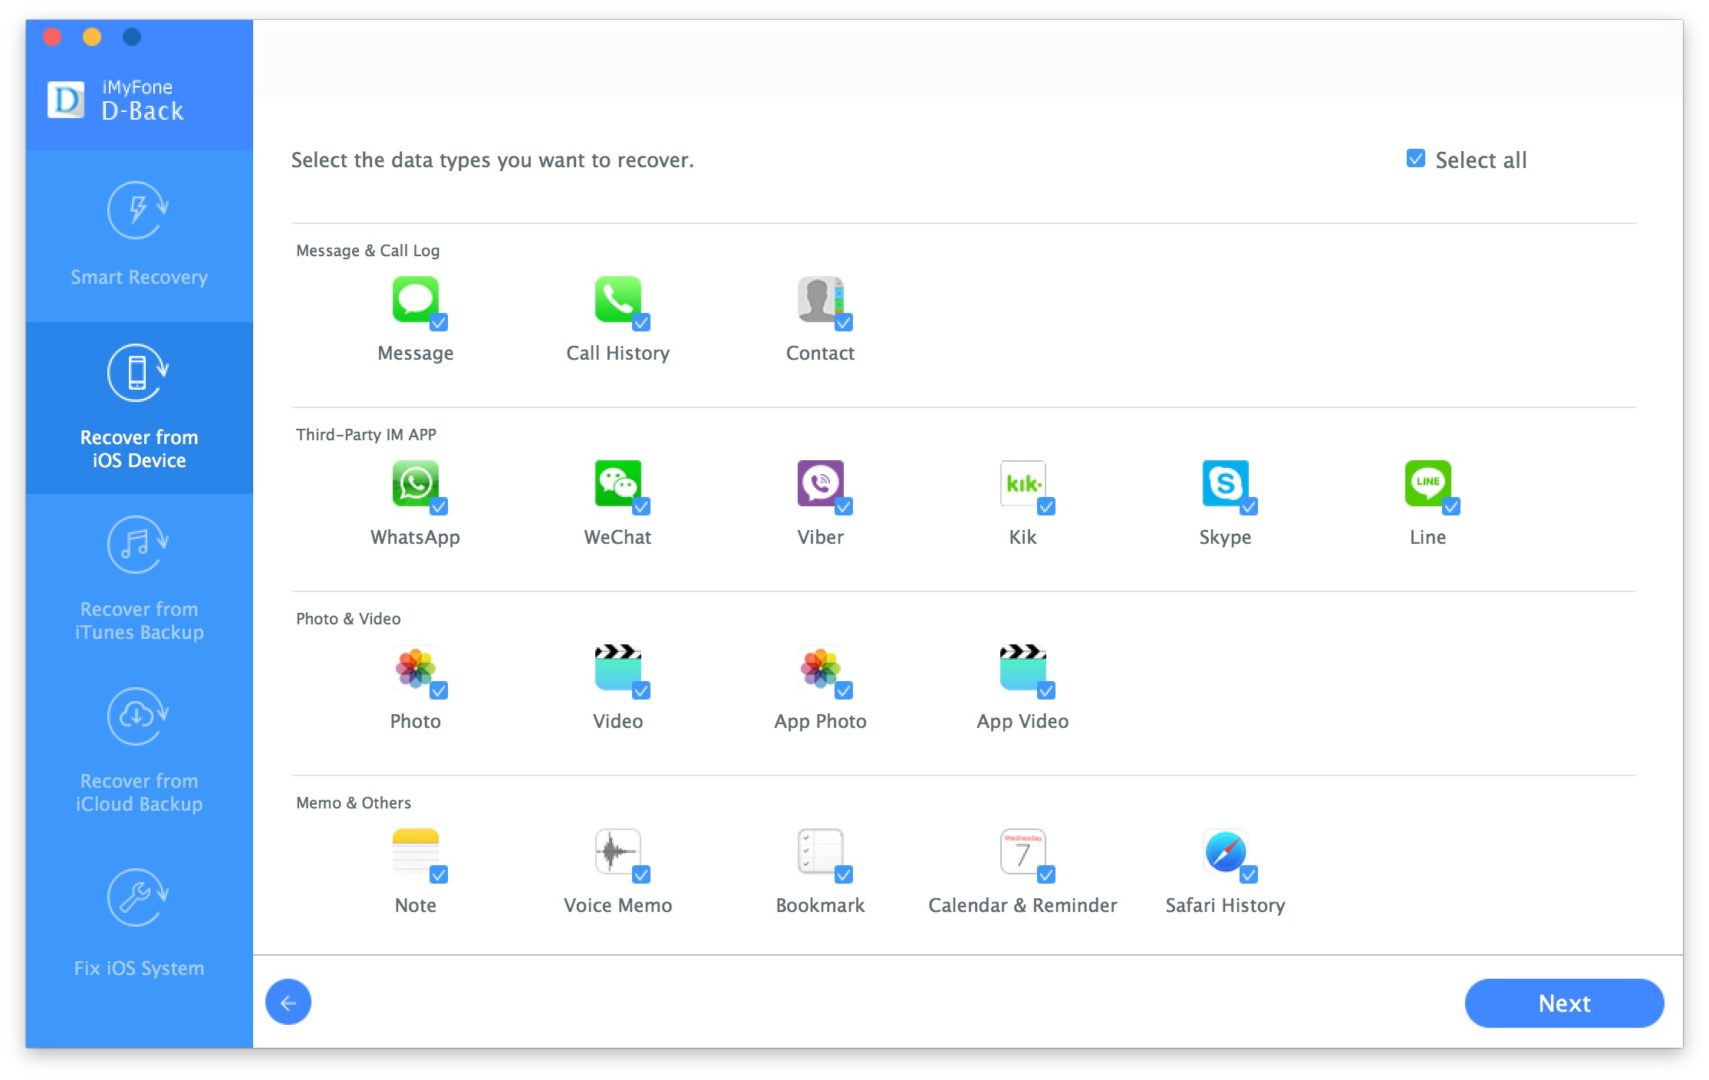
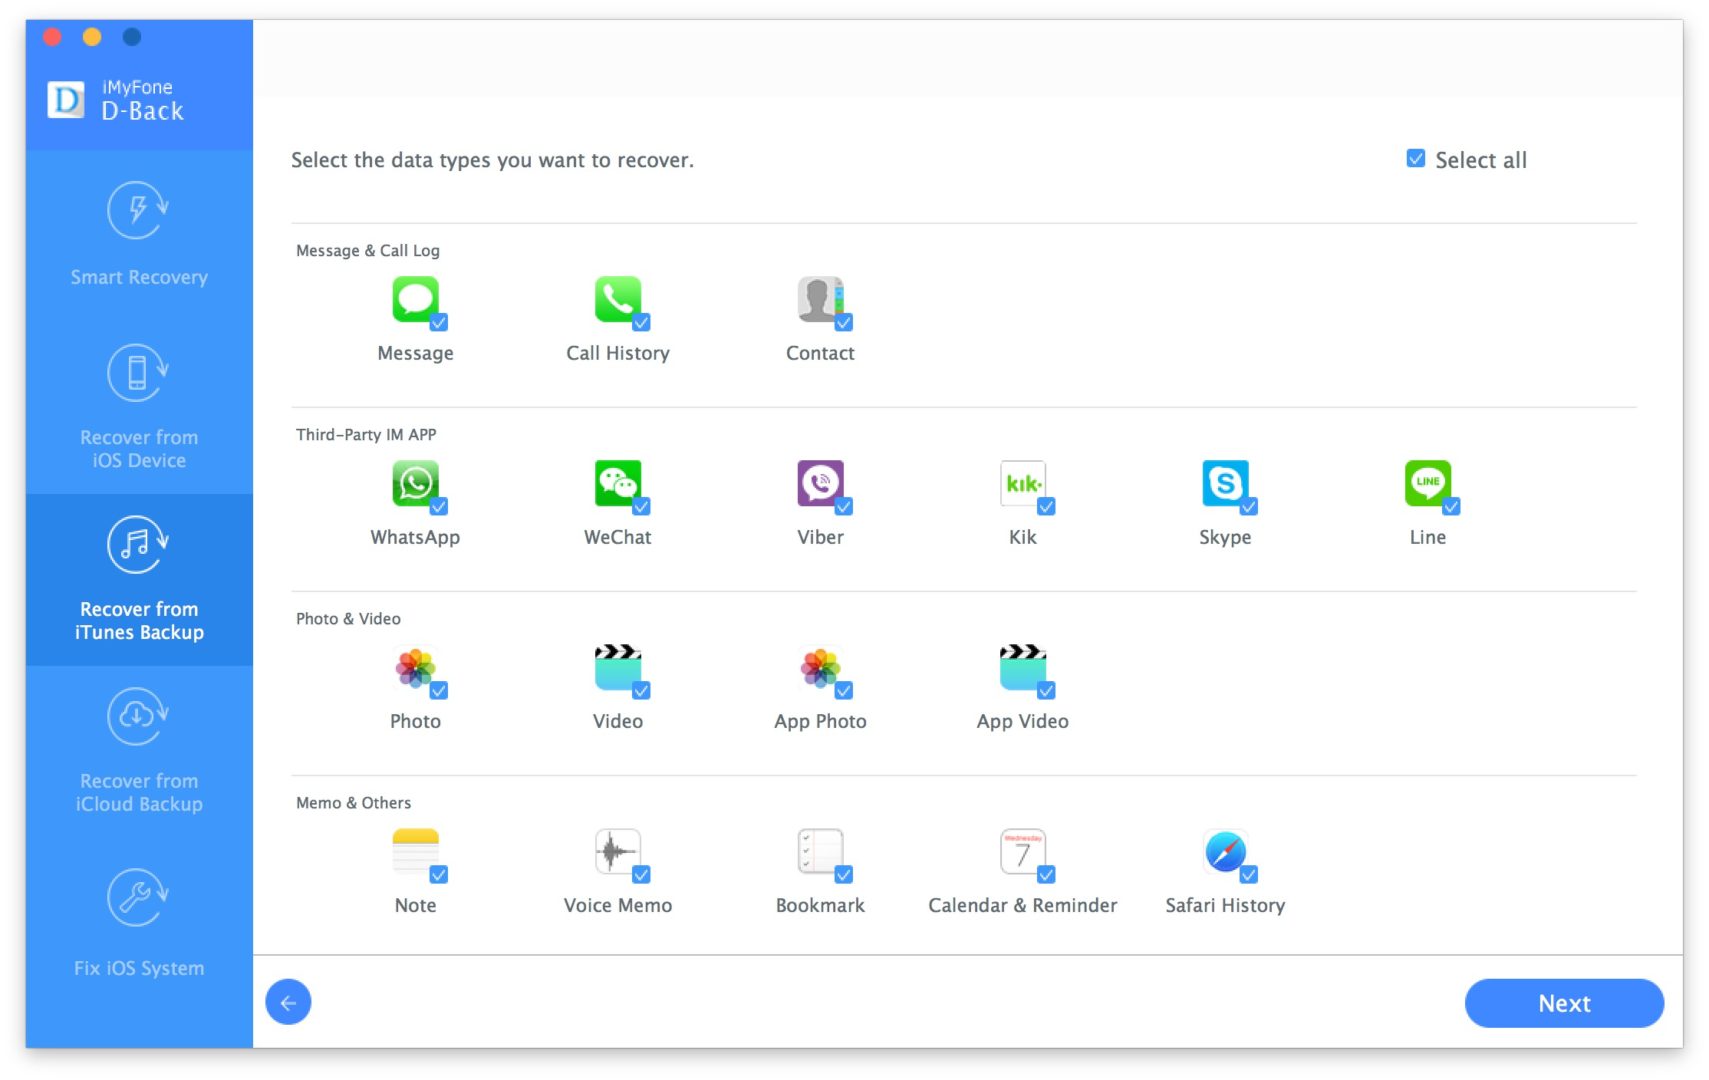
Once you’ve decided where you’re going to recover your deleted data from, select the types of data you’d like to recover. iMyFone D-Back can recovers text messages, Photos, Contacts, Notes, messages from third-party apps like WhatsApp, and so much more.
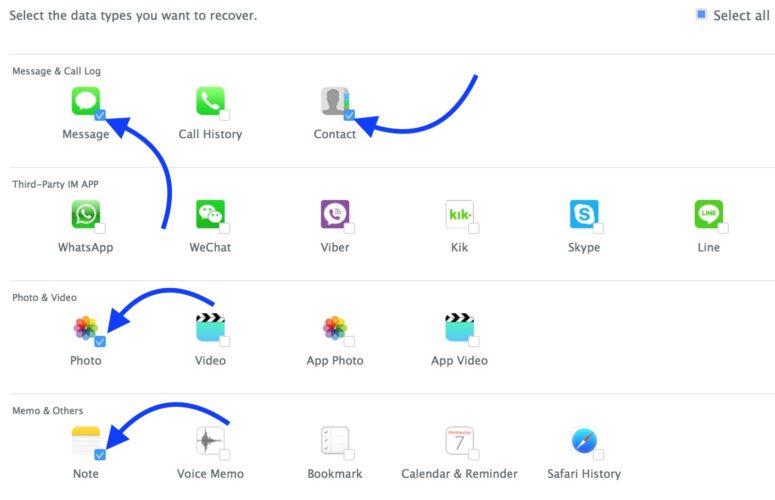
By default, all types of data are selected. To unselect a type of data, click the small checkmark in the bottom right-hand corner of the icon. You can also unselect all file types at once by clicking the box next tp Unselect All in the upper right-hand corner of the screen. Once you’ve chosen all the types of data you’d like recover on your iPhone, click Next.
Recover From Your iOS Device (iPhone, iPad, Or iPod)
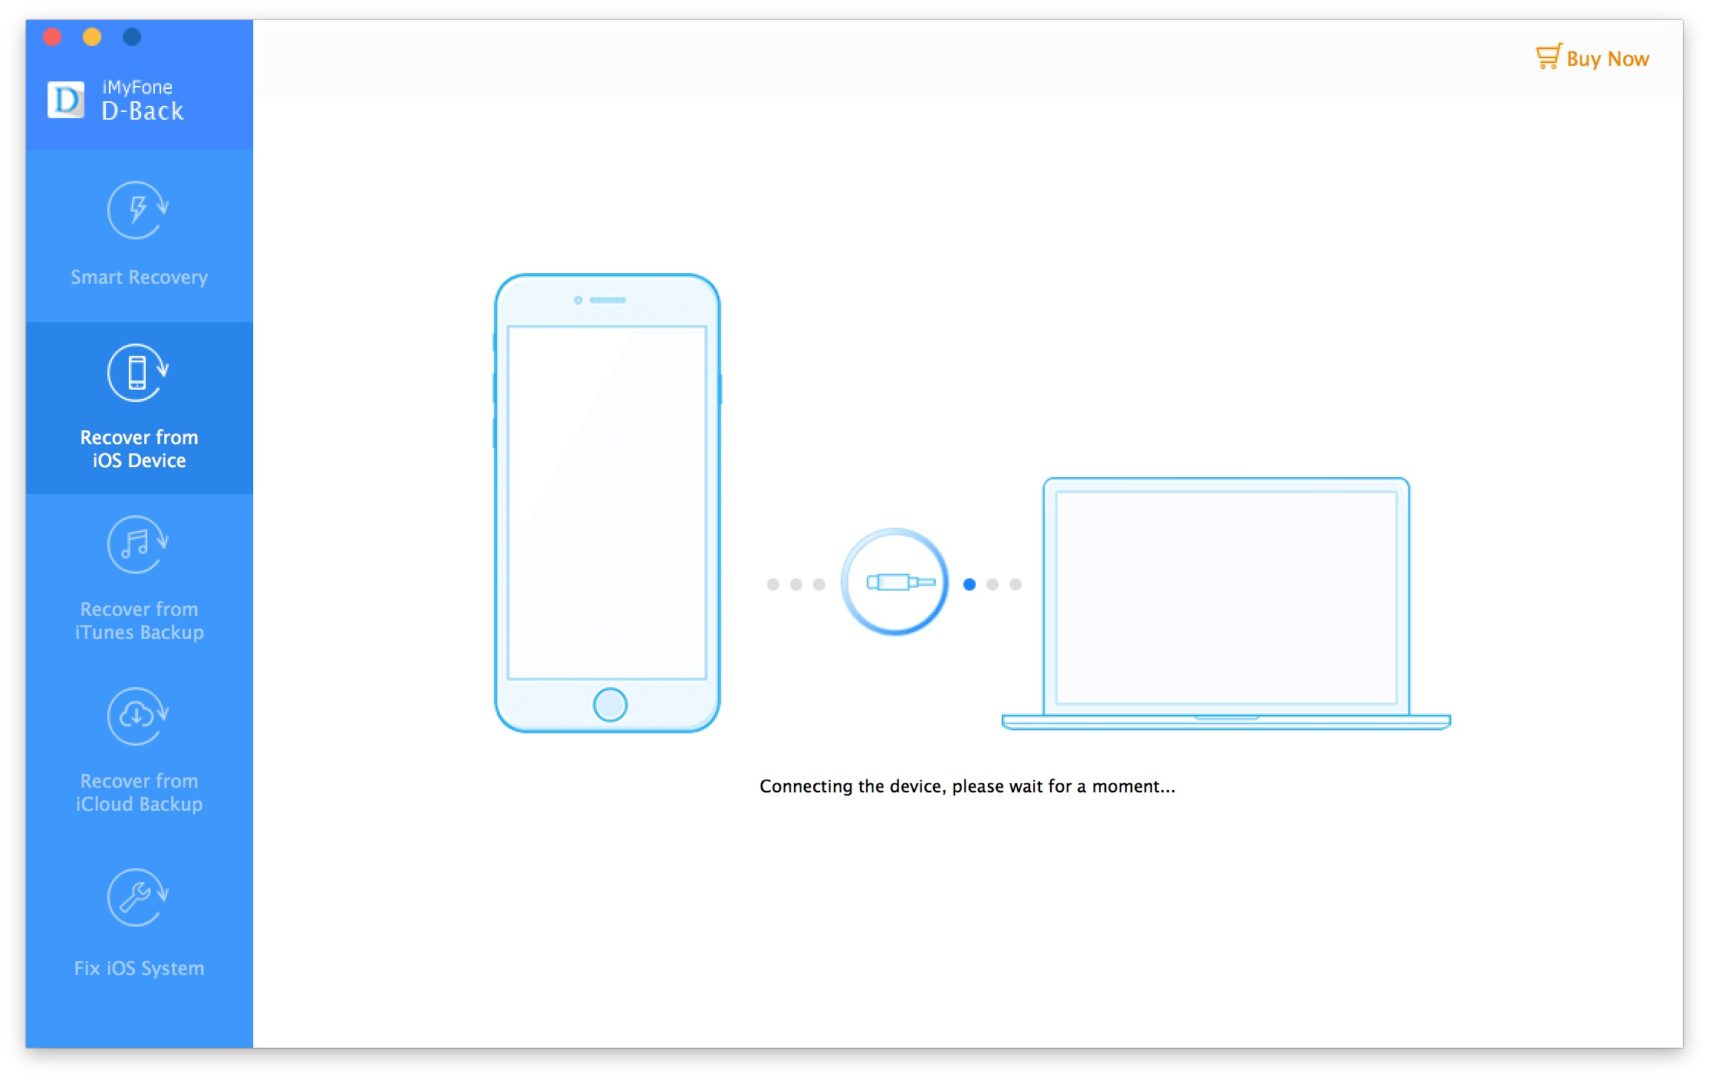
If you’re recovering data from an iOS device, make sure that device is connected to your computer by using a Lightning cable. After you’ve chosen the types of data that you want iMyFone D-Back to recover, it will begin connecting to the device.
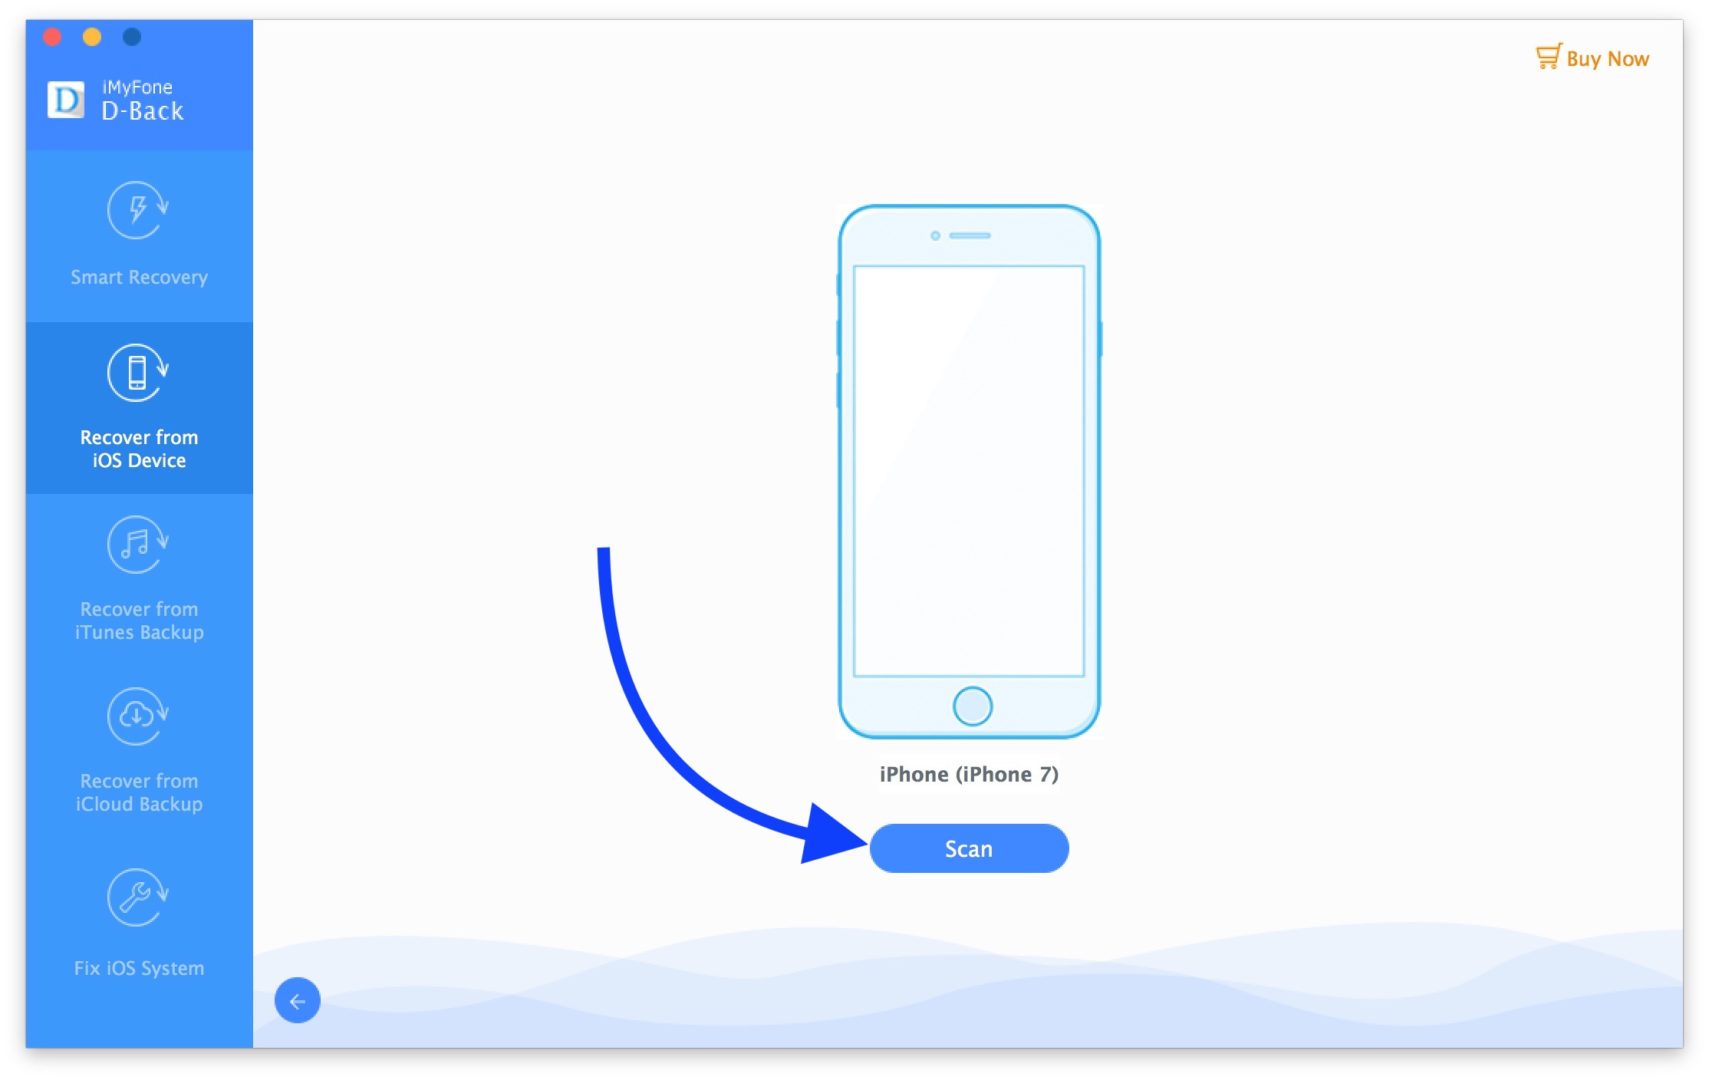
Once iMyFone D-Back has detected your iPhone, iPad, or iPod, click Scan to begin the recovery process.
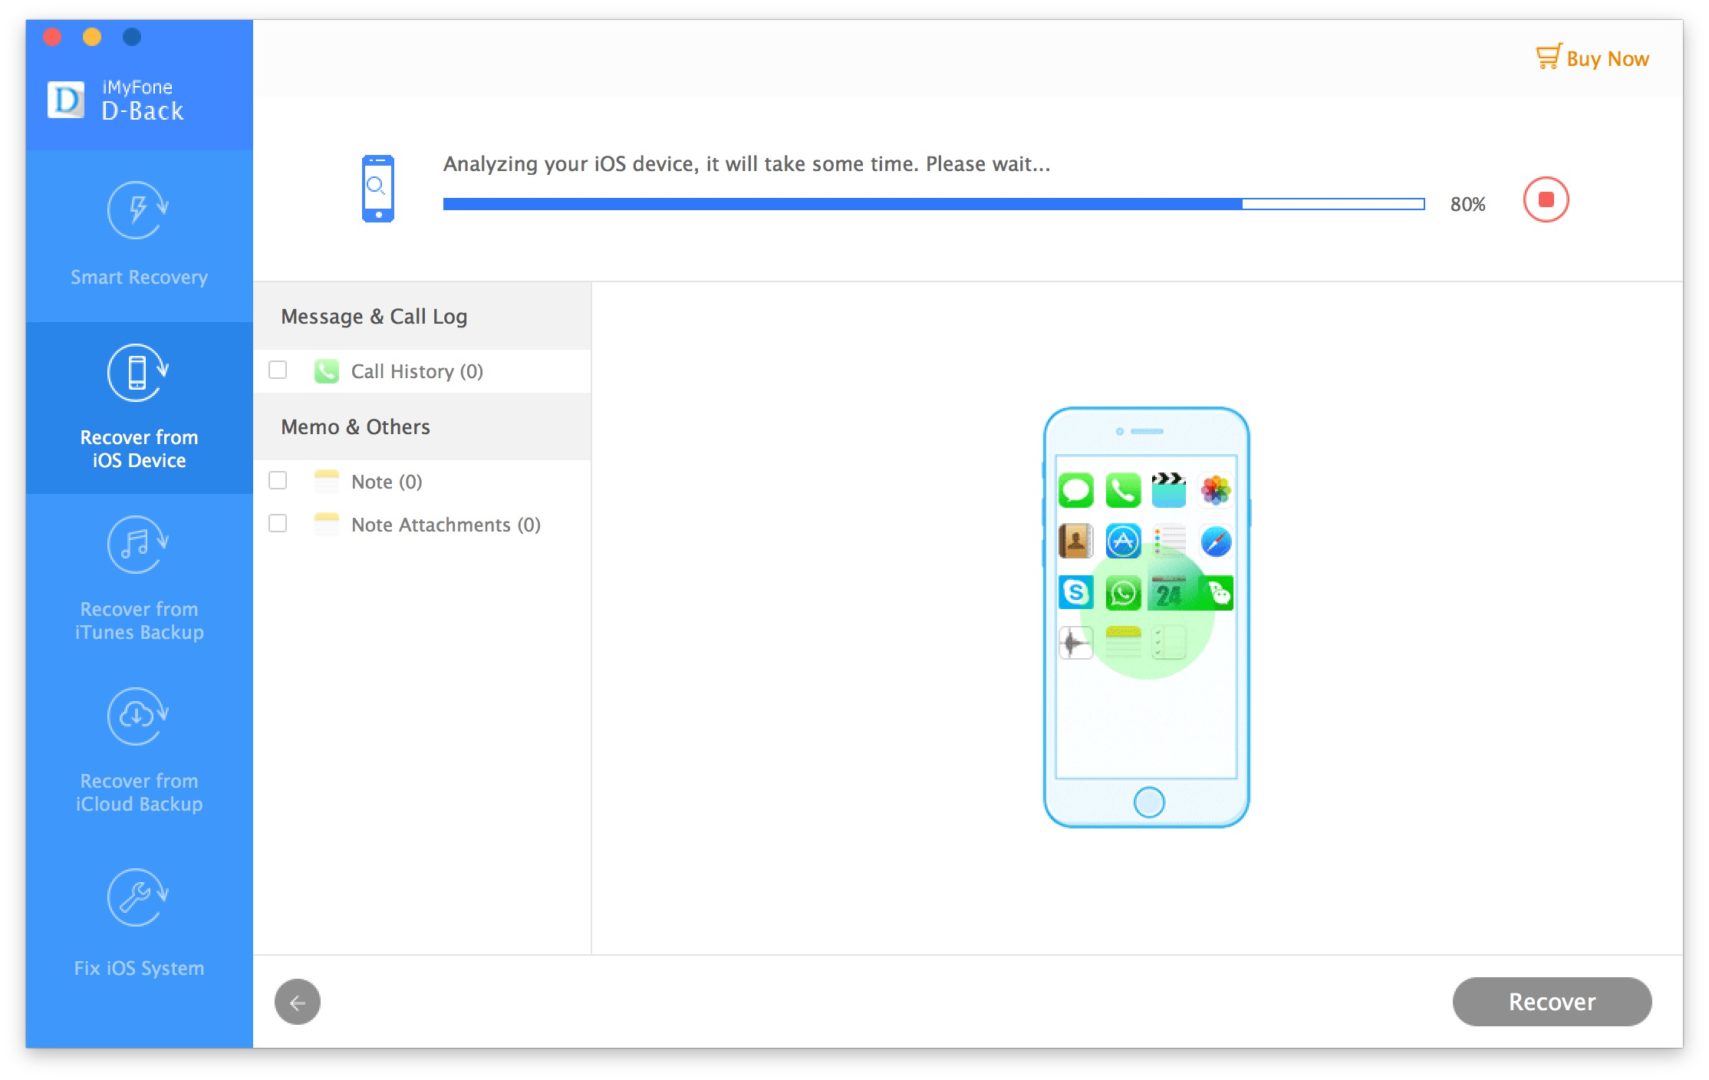
After you click Scan, iMyFone D-Back will begin analyzing your device. In the scans I ran, this only took a few minutes. The more data you decide to recover, the longer the analysis will take. The status bar at the top of the screen will let you know how far along the analysis is.
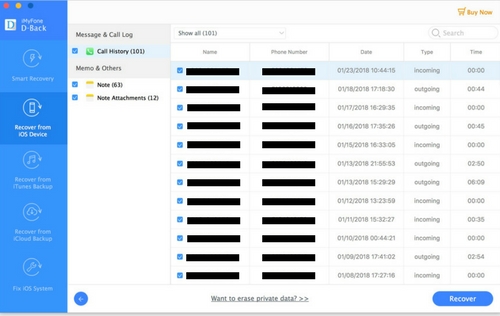
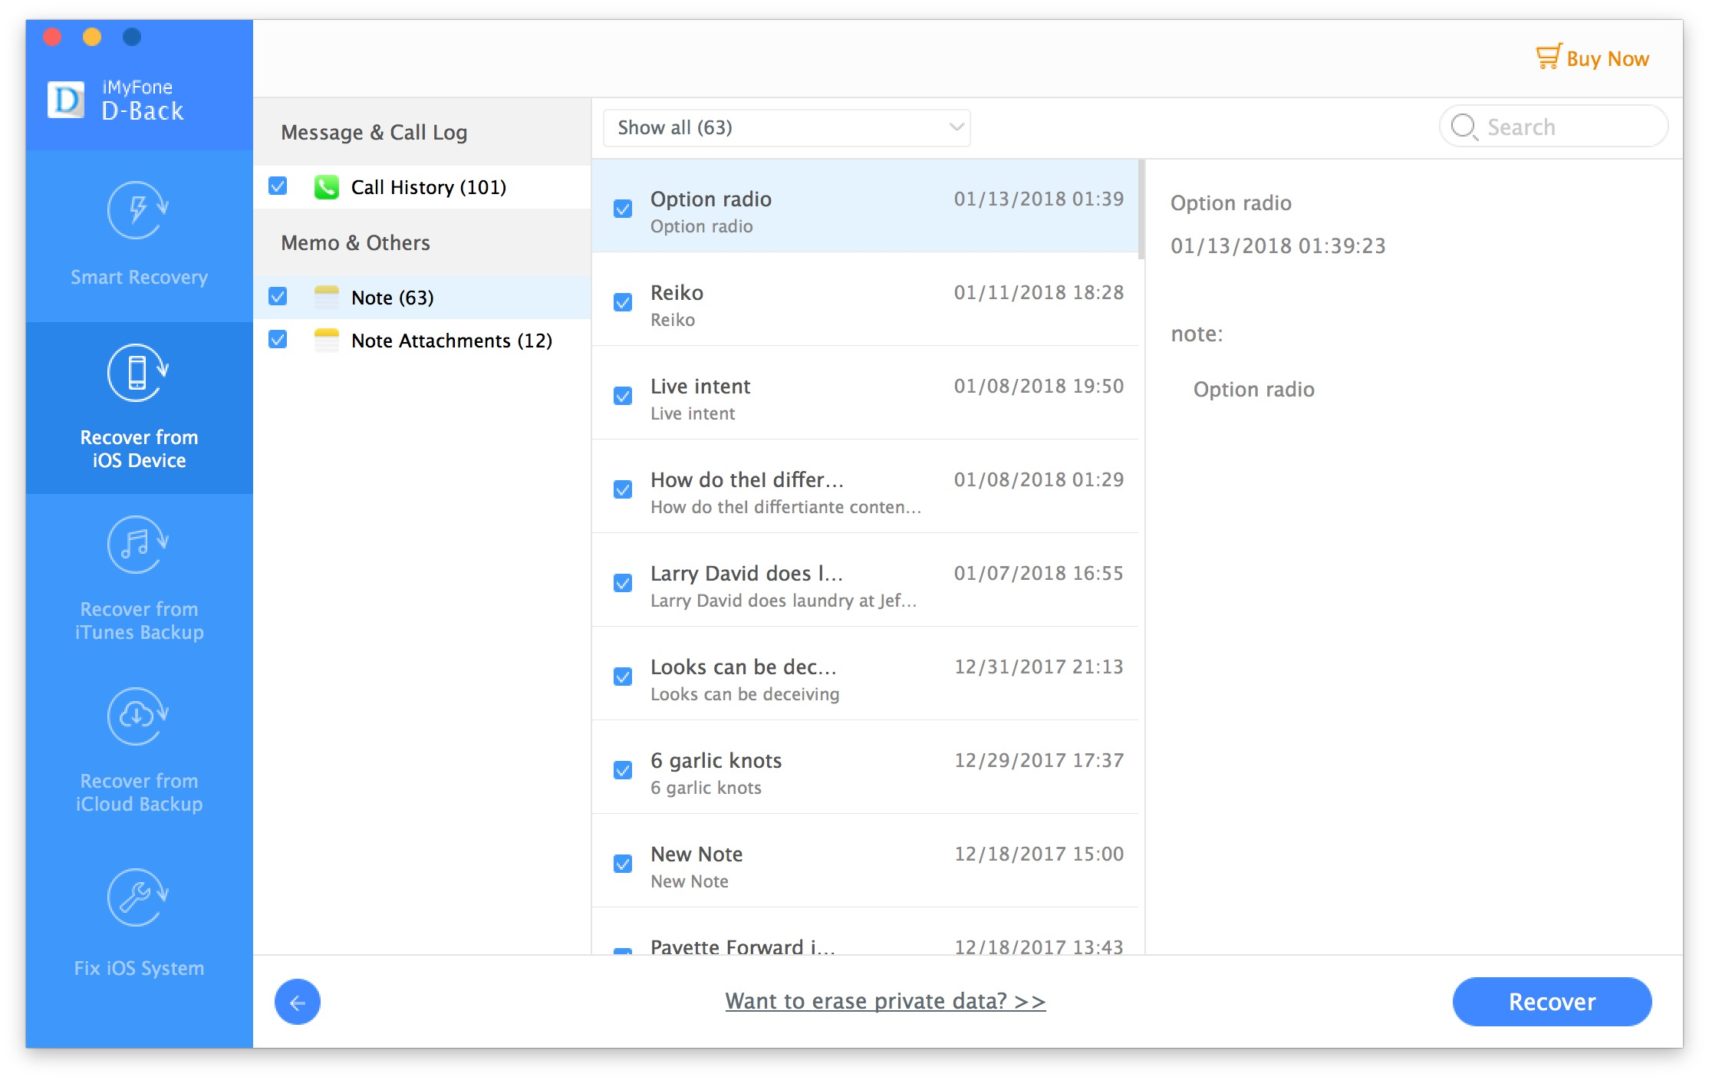
Once the scan is complete, you’ll see a list of all the data that was recovered, sorted by the type of data. When I ran my first Scan, I opted to recover my Call History and notes from the Notes app.
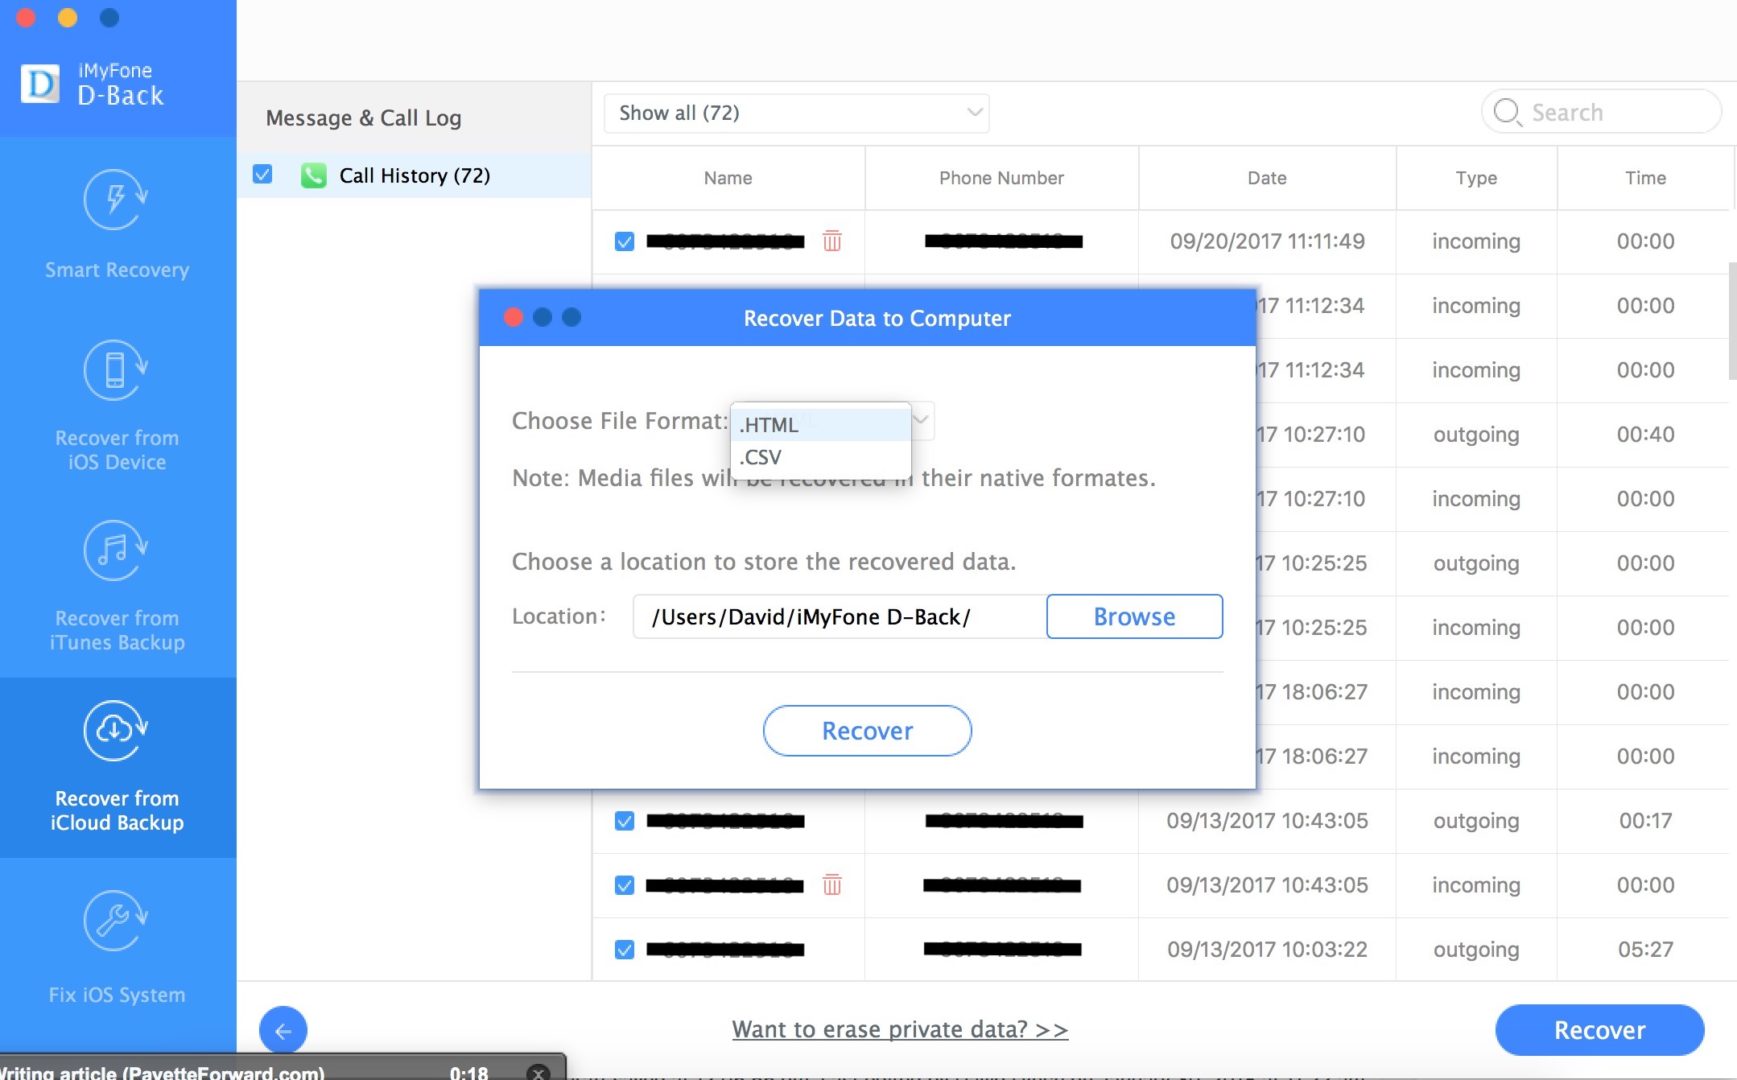
iMyFone D-Back recovered my iPhone’s Call History (information from the Recents tab in the Phone app) including phone numbers, dates of my calls, and how long each of the calls lasted.
iMyFone D-Back also recovered all of my iPhone’s notes from the Notes app, including the date the note was created, the title of the note, and the content of the note.
To recover the data from your iPhone, iPad, or iPod, click Recover in the bottom right-hand corner of the screen. You can choose to export the data in a CSV or HTML file.
As you can tell, iMyFone D-Back is a great way to recover data on your iPhone, iPad, or iPod, especially if your screen is broken. If you need to recover data from a damaged but functional iPhone, I highly recommend iMyFone D-Back!
Recover From iTunes Backup
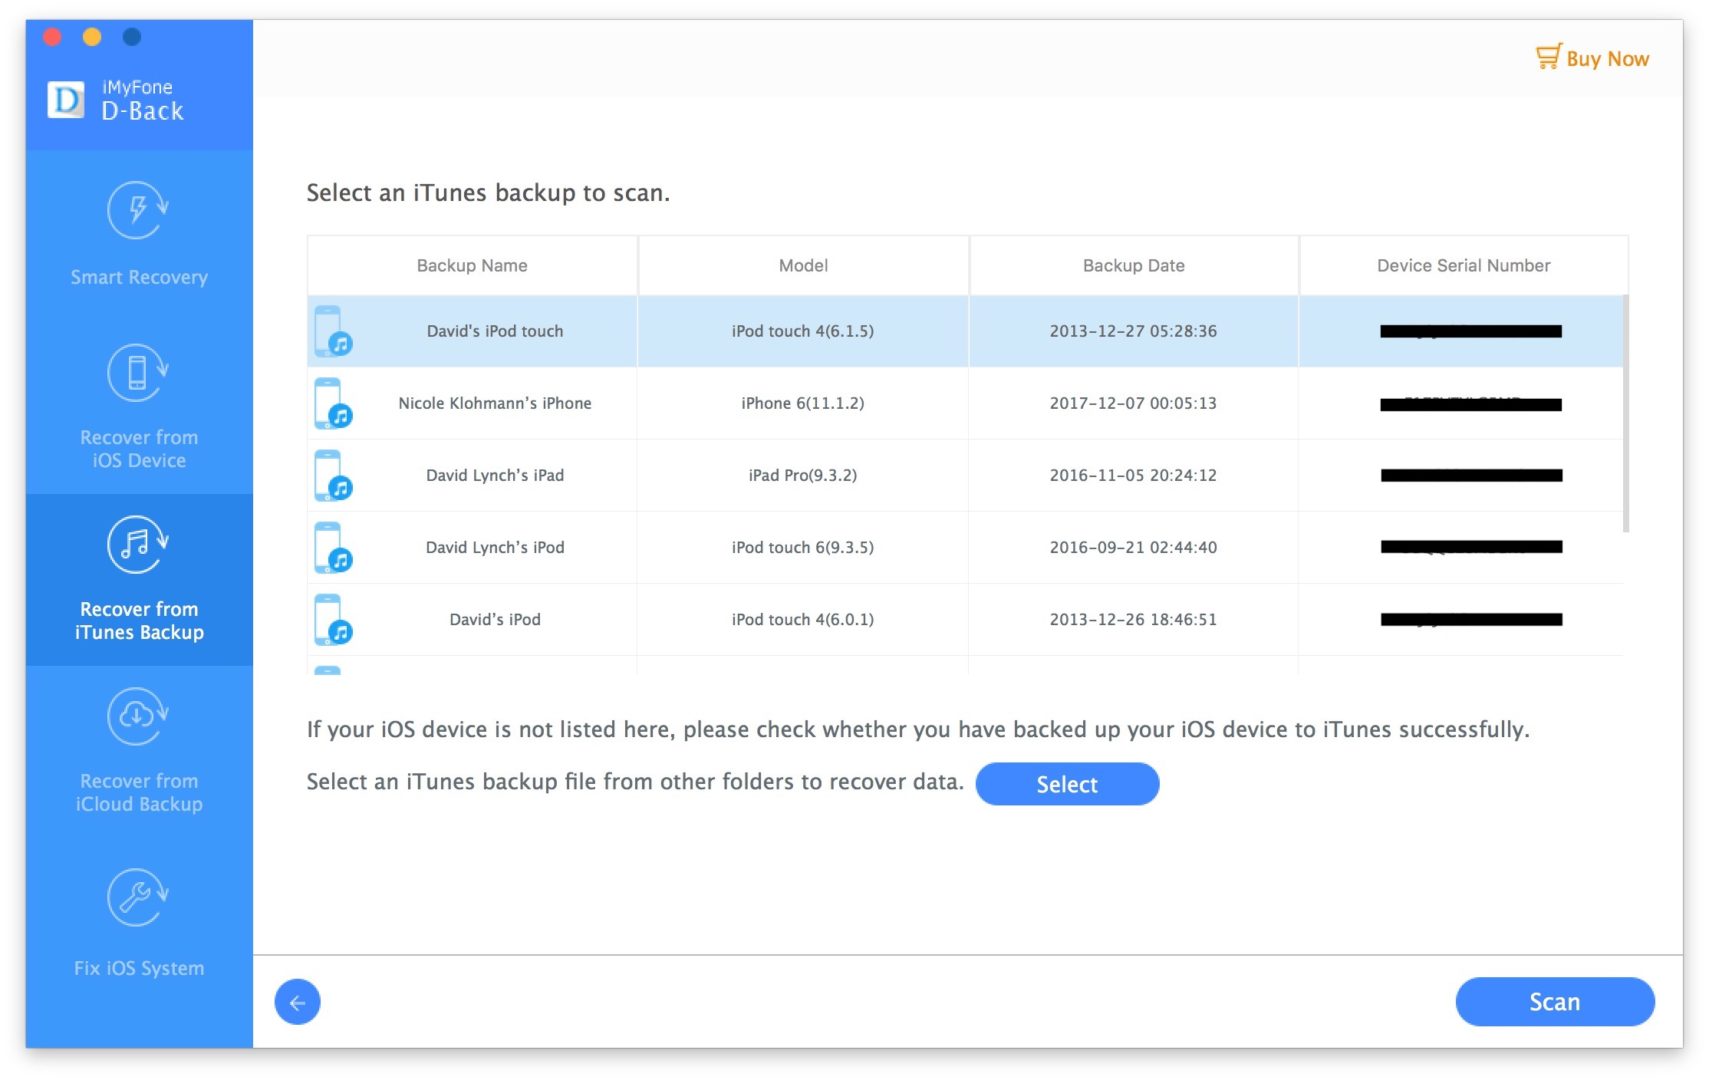
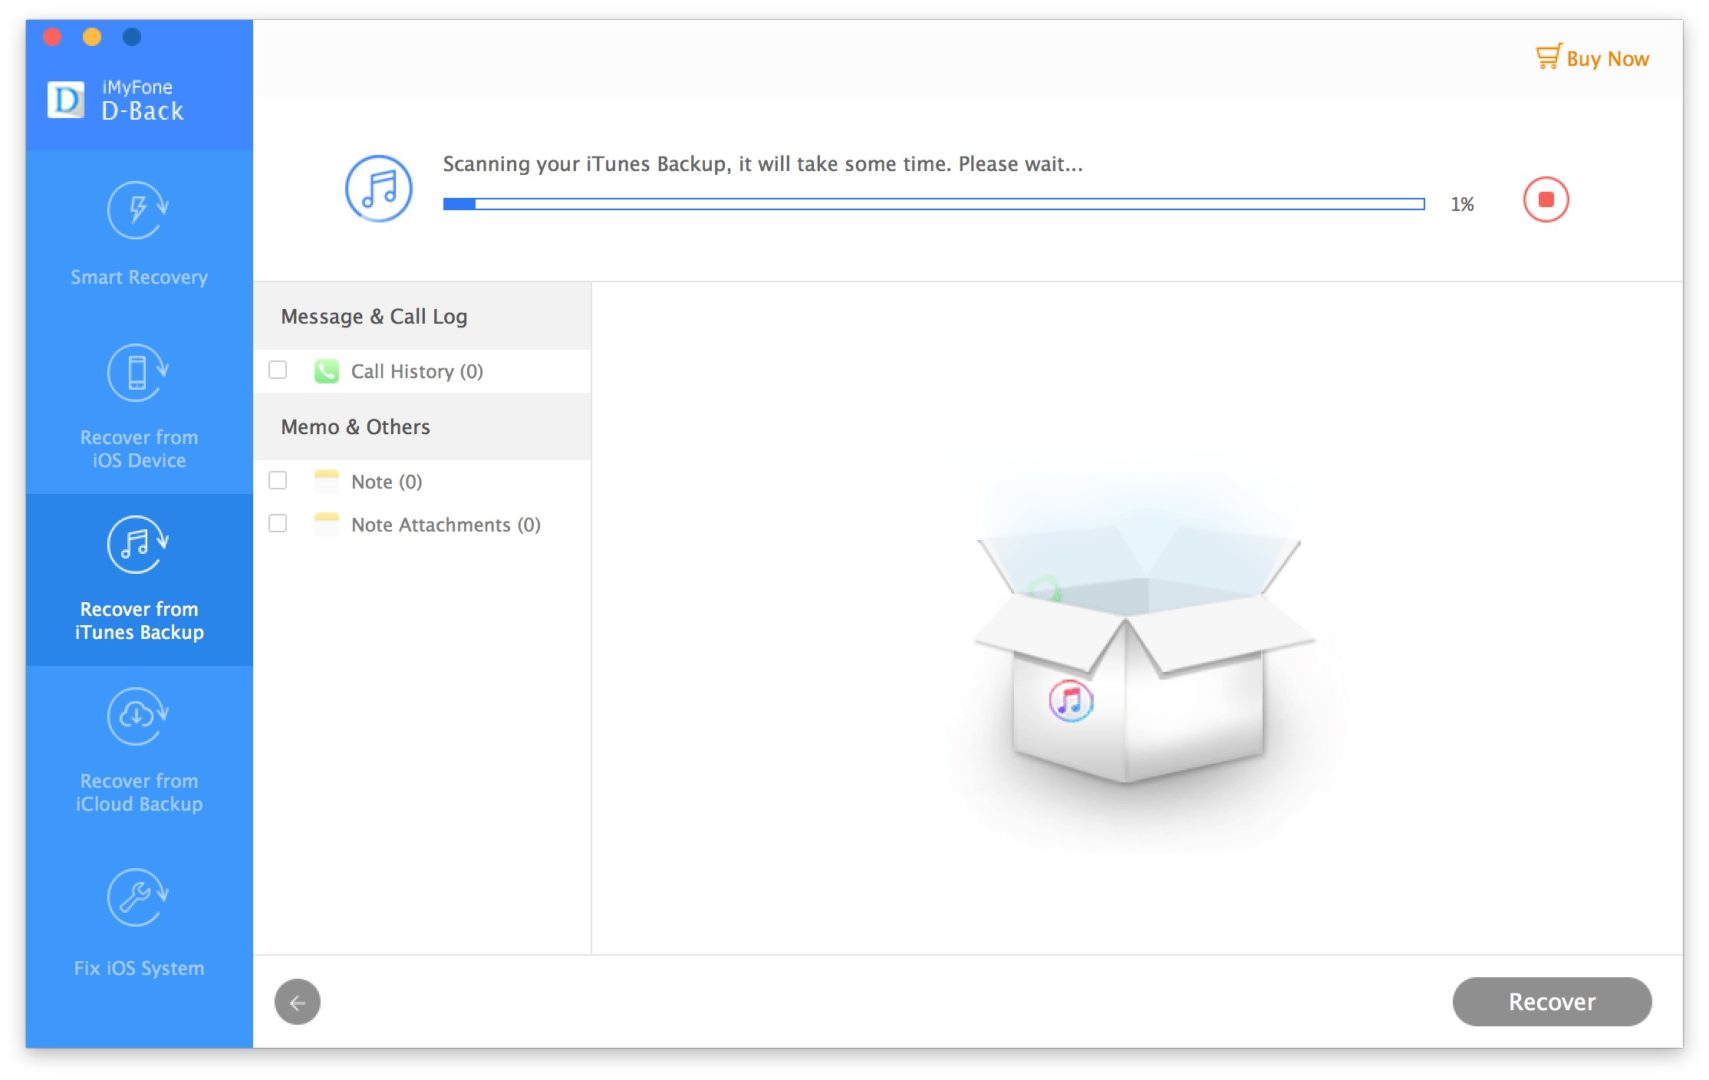
Recovering data from an iTunes backup is just as easy as recovering it from an iPhone, iPad, or iPod. Choose Recover from iTunes Backup and select the types of data you want to recover. After clicking Next, you’ll see a list of the iTunes backups that you can scan.
If the iTunes backup you want to recover isn’t listed here, you select a different backup file on your computer and upload it to iMyFone. To upload a different backup file, click Select and upload the backup file.
Once you’ve selected or uploaded the iTunes backup you wish to recover, click Scan. iMyFone D-Back will begin analyzing and a status bar will appear at the top of the application to let you know how far along the scan is.
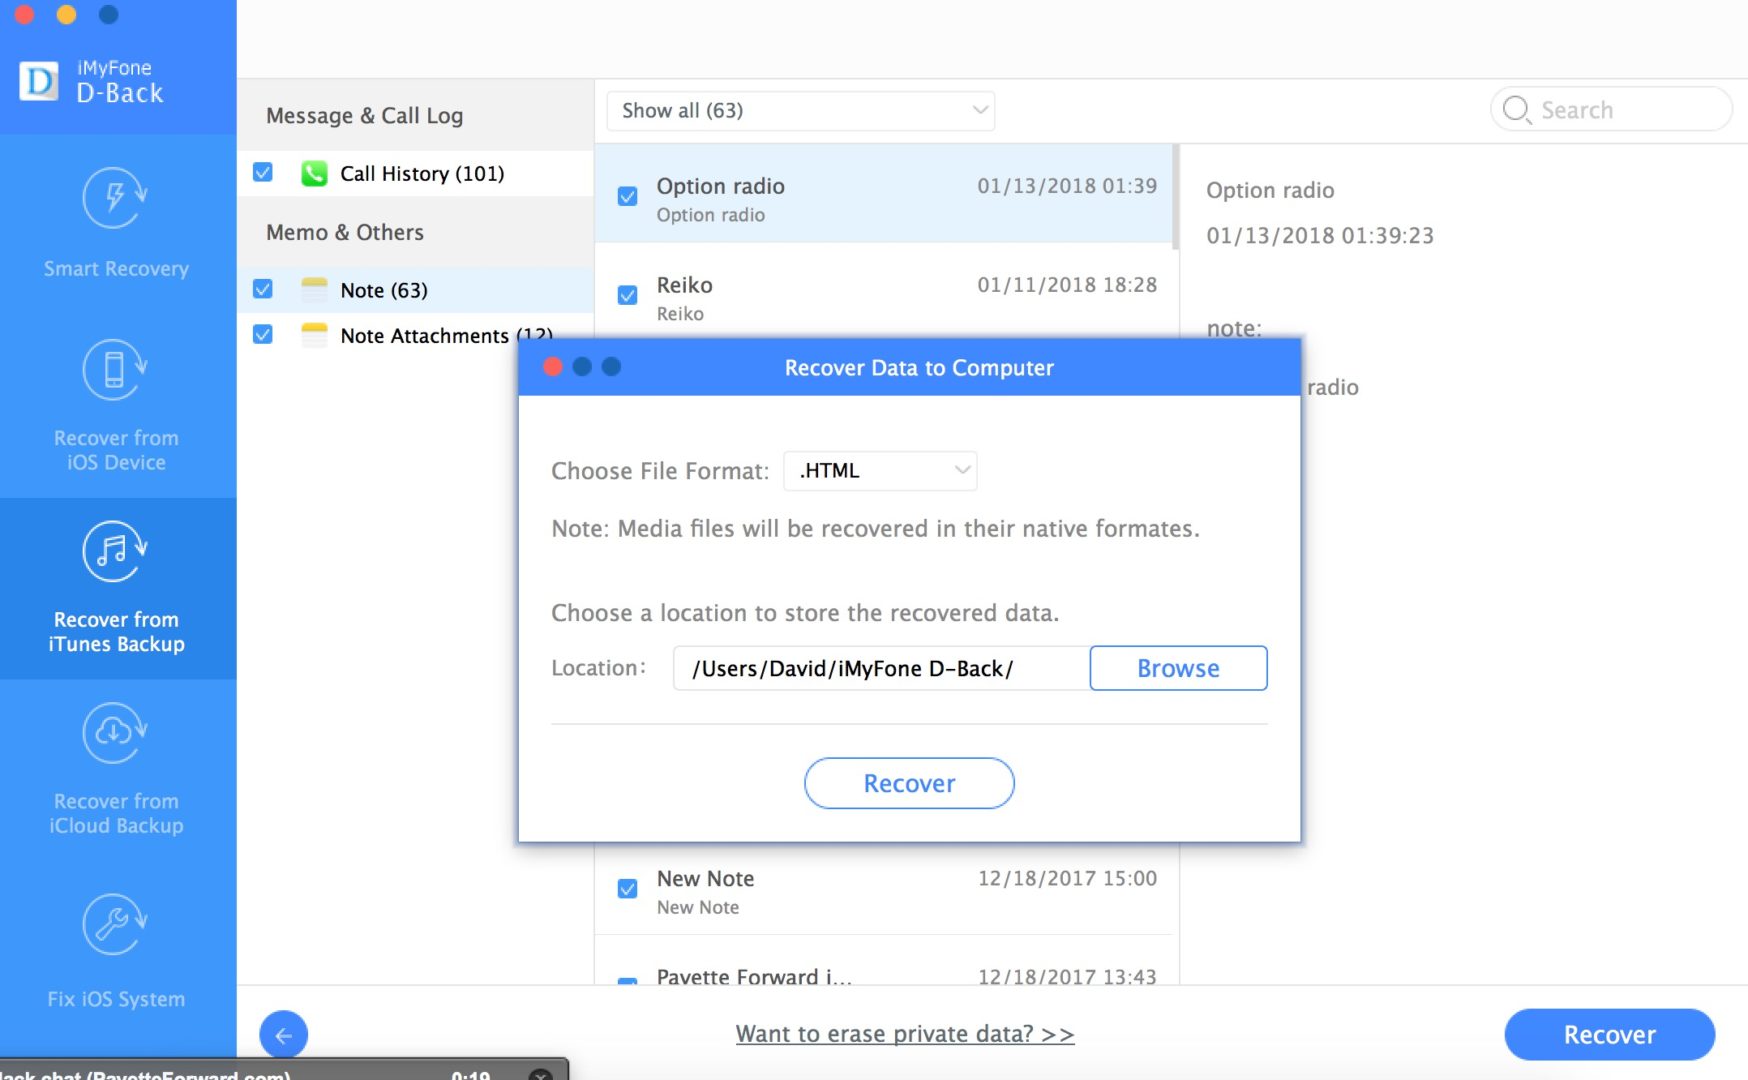
Once the scan is complete, you’ll see a preview of all the data that iMyFone D-Back has recovered. You can choose to recover everything, or just specific files. iMyFone gives you the option to export the data in the form of a CSV or HTML file. When you’re ready, click Recover in the bottom right-hand corner of the screen to recover the data from the iTunes backup.
Recover From iCloud Backup
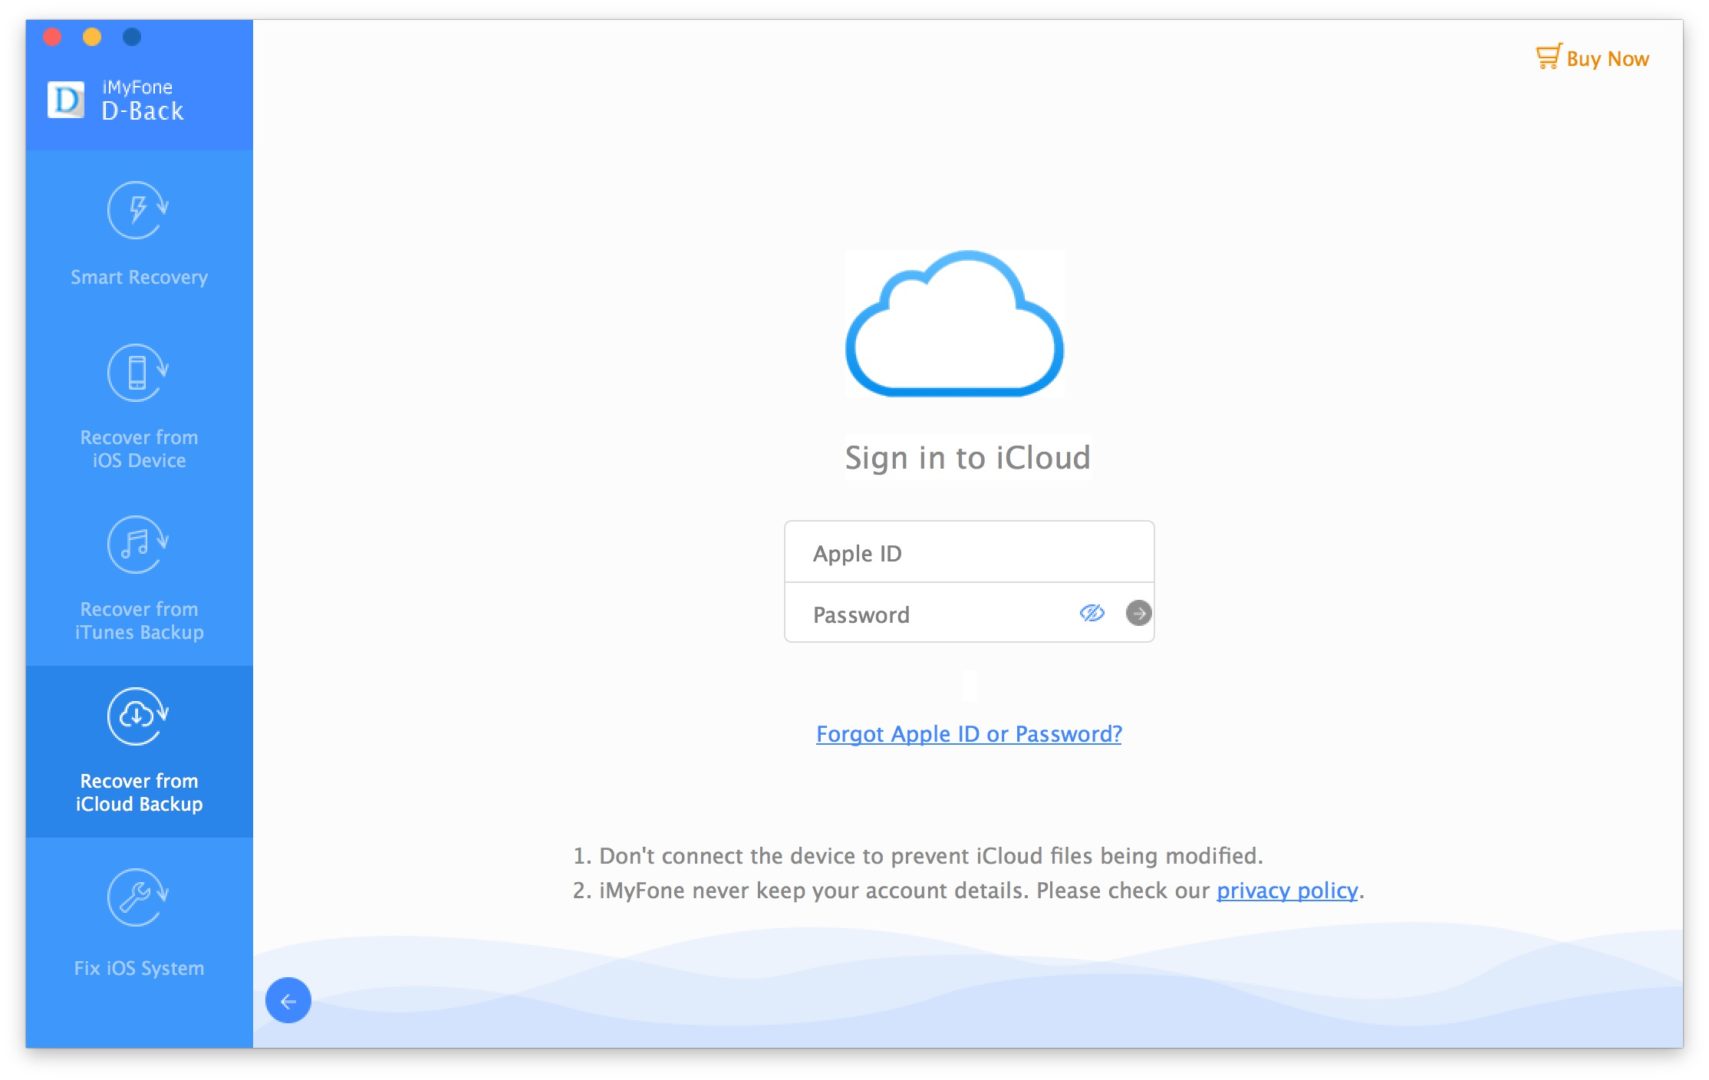
The third way to recover data using iMyFone D-Back is from an iCloud backup. First, click Recover from iCloud Backup and select the files you want to recover. Then, you’ll be prompted to sign into your iCloud account.
Unfortunately, if you use two-factor authentication on your iCloud account, you’ll have to turn it off before continuing with iMyFone D-Back. Two-factor authentication is an important account security feature, so make sure to turn it back on after recovering the data from your iCloud account.
iMyFone’s Privacy Policy states that they won’t store, save, or sell your iCloud account details.
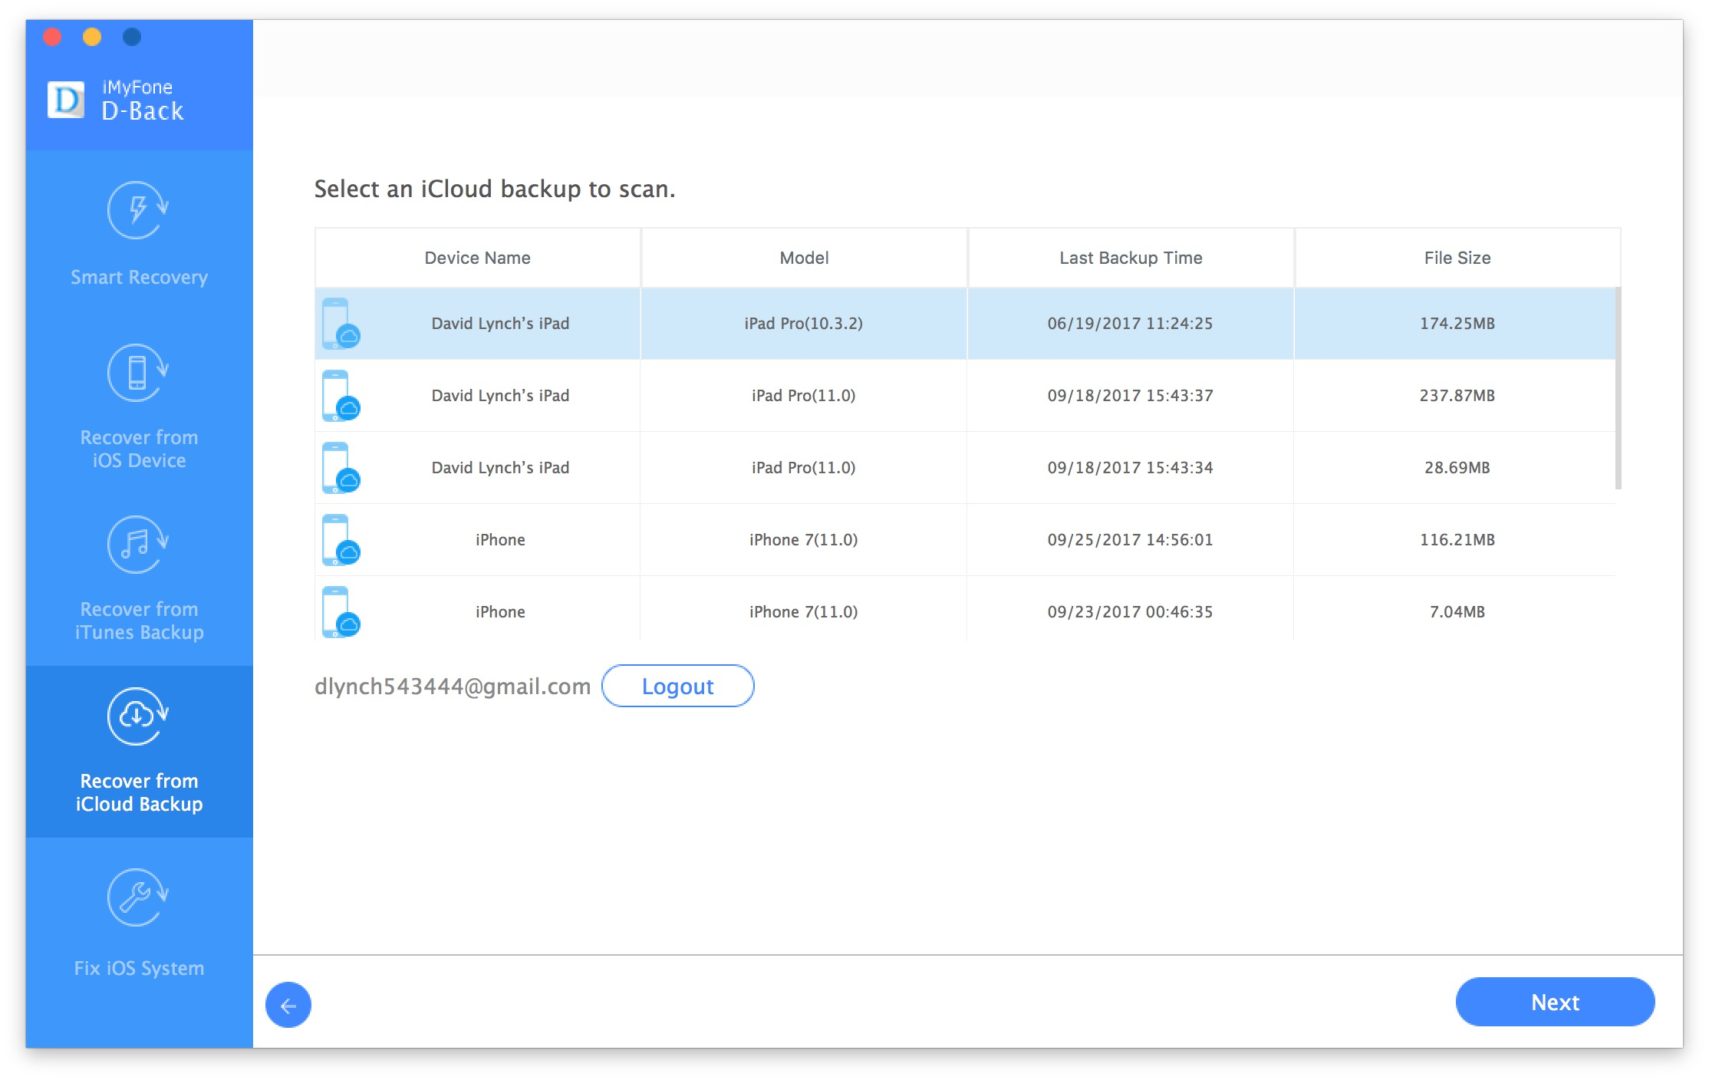
After logging into your iCloud account, you’ll see a list of iCloud backups that iMyFone D-Back can scan. Select the iCloud backup you want to scan, then click Next.
The scan will begin and a status bar will appear at the top of the display to let you know how much of the iCloud backup has been recovered. When the scan is complete, click Recover to recover the data — you can choose to save it as an HTML or CSV file.
The Bottom Line: Should I Buy iMyFone D-Back?
If you need to recover data on your iPhone, iPad, or iPod, iMyFone D-Back is a great choice. iMyFone D-Back is incredibly user-friendly — it keeps you on a narrow, focused track so you don’t get overwhelmed with all of your recovery options. At any point in the process, you’re only just a few clicks away from recovering your data.
Furthermore, iMyFone D-Back completes scans very quickly. Each time I performed a recovery, it was finished in less than fifteen minutes. If you’re in need of a fast solution, iMyFone D-Back is a great option.
How Do I Download iMyFone D-Back?
Both Windows and Mac versions of iMyFone D-Back iPhone Data Recovery are available for download on iMyFone’s website, or use our direct! Simply click Buy Now after selecting which version you’d like to purchase and download.
Highlights Of iMyFone D-Back
- Recovers data from an iOS device, iTunes backup, or iCloud backup
- Fixes minor software issues with your iPhone, iPad, or iPod
- Available on Mac & Windows
- A free trial is available
Data Recovery Made Easy!
iMyFone D-Back makes it easy to recover data from your iOS device, iTunes backup, or iCloud backup! Leave us a comment down if you have any other questions or if you’d like to tell us your experience with iMyFone D-Back.
Thanks for reading,
David L.
Ohh nice article
Great article. However the case maybe, Recovering datas and back up of files isn’t impossible as we speak anymore as there are different unorthodox methods to recover important files . I once hired recovery team and chs experts webghost33 on IG who came through for me . I was able to recover my iCloud account and gmail . It’s totally worth the time . Mind you what’s more important is that you leave some part of the recovery process for experts so as not to complicate further issues.
Don’t trust it, I never recommend it. I installed the Mac OS version to transfer WhatsApp data from an old IPhone to a new one, I tryed several times and the App always got stuck more than 30 min, with no progress, I asked my money back and they told me they cannot refund, the page says it’s a 30 day money back guarantee. Also I realized that by default they enable the automatic montly payment and the option to disable it doesn’t exist and the option to cancel it it’s very hard to find in the menu. So, at… Read more »
1) I bought the product because it said “Click here to buy now and recover your data”, then after entering the registration code, the data output to an HTML file, but not recovered to the device.
2) The software is unable to recover data from my iCloud backup because two-factor authentication cannot be disabled on apple devices anymore.
There are free tools available that do the same thing. If you want to recover data, then restore your back from from itunes. This product does not wor to do that.
Also, glad you did a review because I used this companys software to recover my iPhone from DFU mode and it sucked! The firmware would not download to my MAC at all. I reached out to these people and all I got was that theyll send this to another department. Then I got some weird email after that with a bunch of weird letters and number mixed with my previous emails to them. Then I asked them if I could get the PC version since the MAC version obviously wasnt working and they werent helping, ABSOLUTELY no response after that.
How long after factory resetting your phone can you still do this? I just factory reset my phone 3 days ago, can I still recover my data?