
You want to record the screen on your iPhone to show your friends a cool new trick, but you’re not sure how. With the release of iOS 11, you can now do it from Control Center! In this article, I’ll show you how to record an iPhone screen without an app, Mac, or Windows computer so you can take and share videos of your iPhone’s screen with your friends.
Setting Up Screen Recording On Your iPhone
To record an iPhone screen without an app, Mac, or Windows computer, you’ll first need to add Screen Recording to Control Center. Screen Recording was introduced with the release of iOS 11, so make sure your iPhone is up to date!
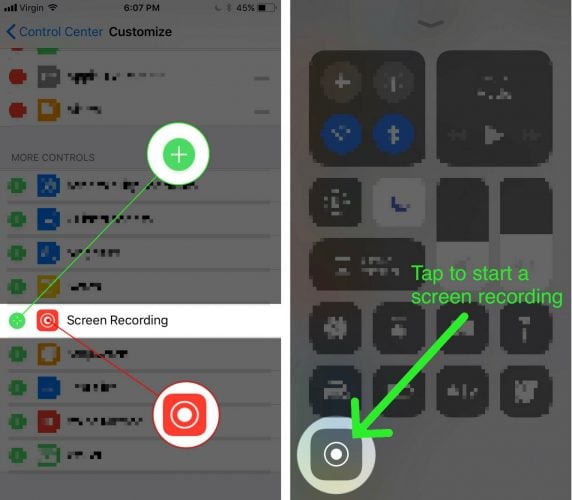
To add Screen Recording to Control Center, open the Settings app and tap Control Center -> Customize. Then, tap the green plus to the left of Screen Recording, which can be found under More Controls. Now when you open Control Center, you’ll see that the Screen Recording icon has been added.
How To Record An iPhone Screen From Control Center
- Swipe up from below the bottom of your iPhone’s display to open Control Center.
- Tap the Screen Recording
 icon.
icon. - The Screen Recording icon will turn red and the screen recording will begin.
- Do the actions you’d like to record on the screen of your iPhone.
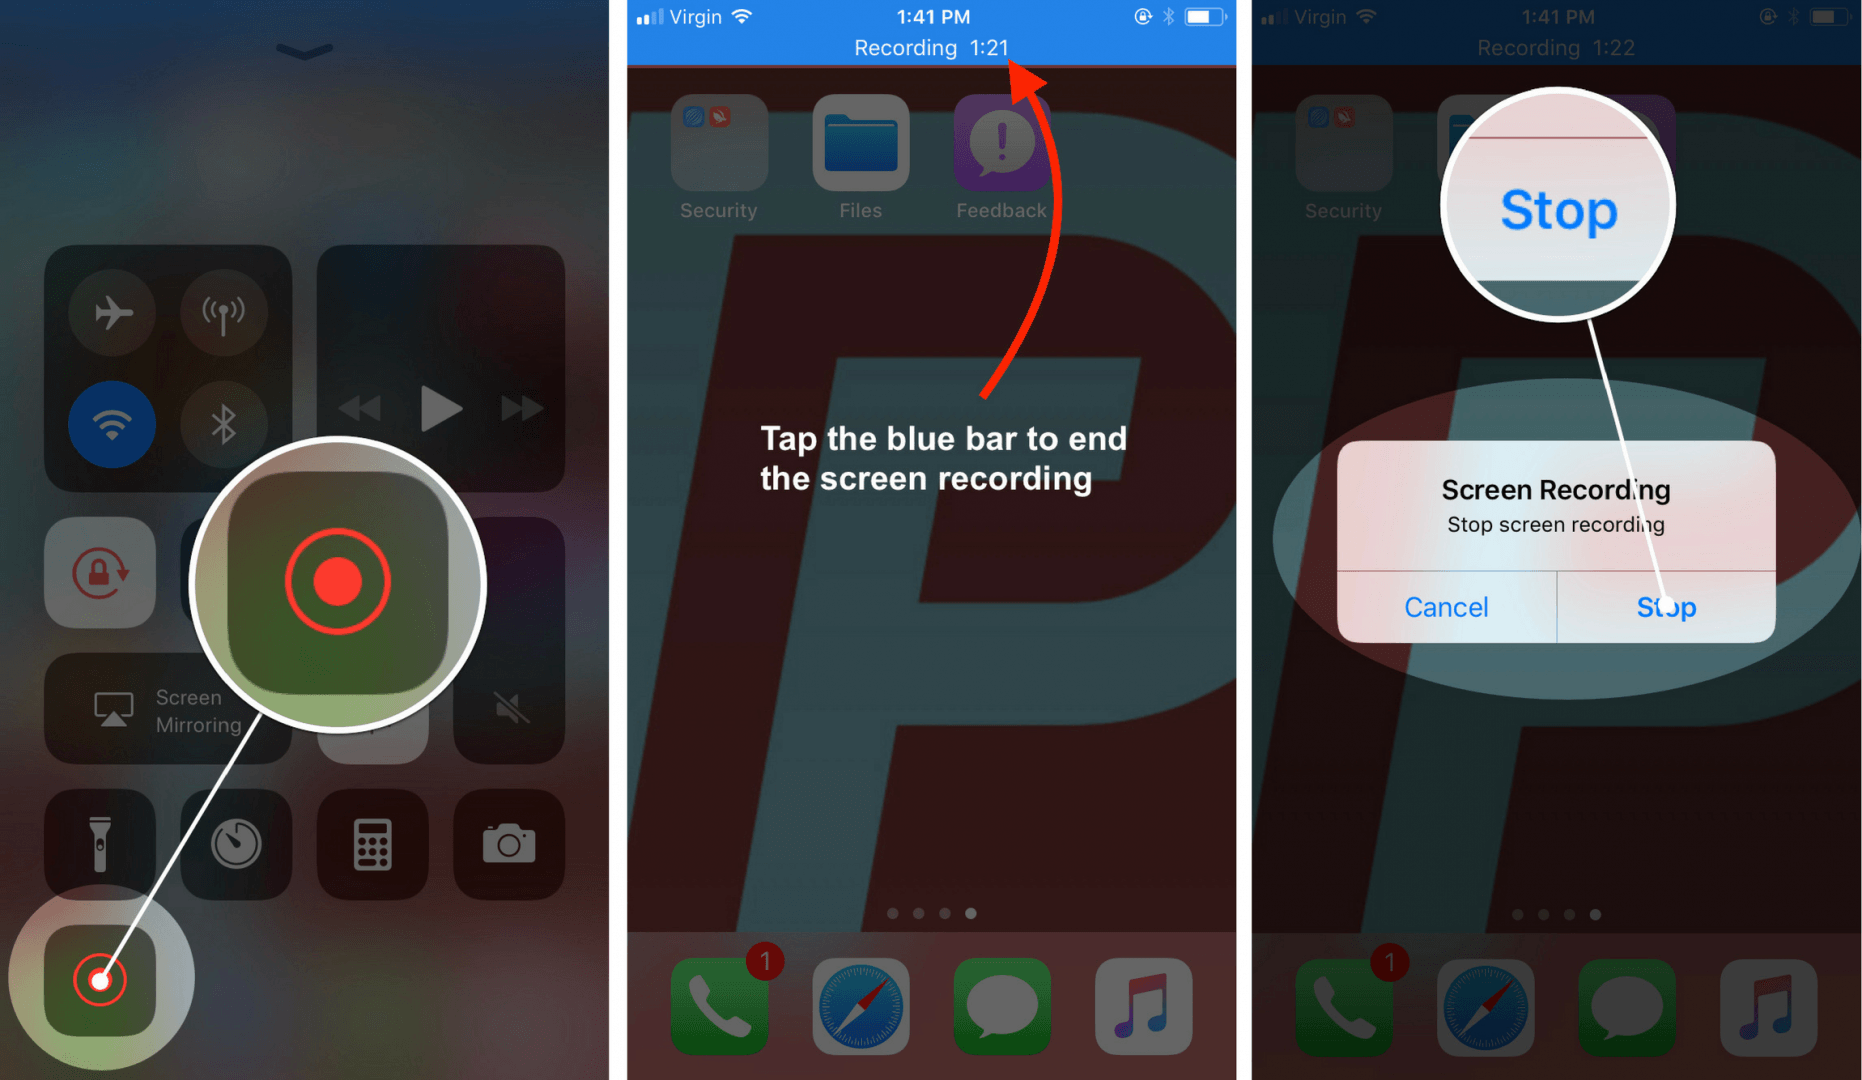
- Once you’re finished, tap the blue bar at the top of your iPhone’s display.
- Tap Stop to finish the screen recording. You can also reopen Control Center and tap the Screen Recording icon to end the recording.
- Your Screen Recording video will be saved to the Photos app.
How To Turn On Microphone Audio For Screen Recording
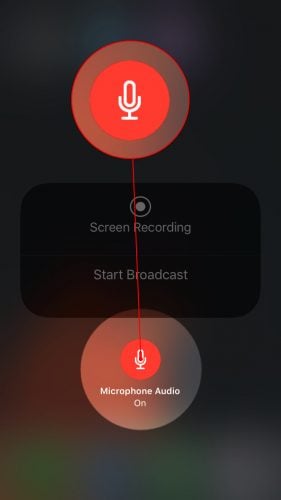
- Use your finger to swipe up from below the bottom of the screen to open Control Center.
- Press and hold the Screen Recording button in Control Center until your iPhone briefly vibrates.
- Tap the Microphone Audio icon at the bottom of the screen. You’ll know its on when the icon is red.
Screen Recording With QuickTime
Now that I’ve discussed how to record an iPhone screen from Control Center, I’d like to briefly walk you through how to do the same on a Mac. Personally, I prefer the new iPhone screen recording feature because QuickTime often crashes when I use it.
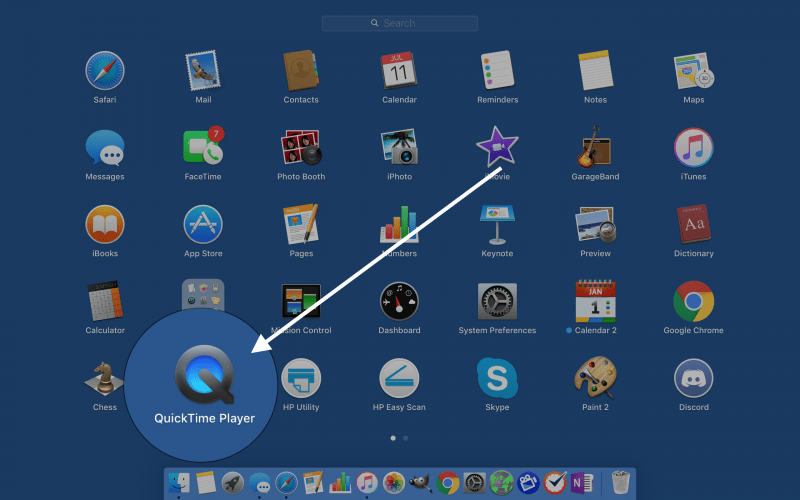
To record the screen of an iPhone using QuickTime, first make sure you’ve connected your iPhone to a USB port on your Mac using a Lightning Cable. Next, click on Launchpad in your Mac’s Dock, then click the QuickTime icon.
Note: QuickTime may be in a different spot in your Mac’s Launchpad.
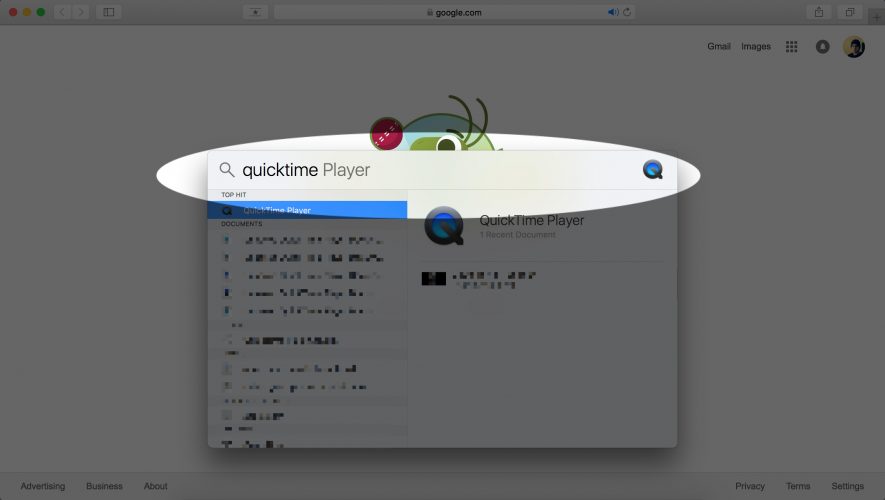
You can also open QuickTime using Spotlight Search. Press the command button and space bar at the same time to open Spotlight Search, then type “QuickTime” and press enter.
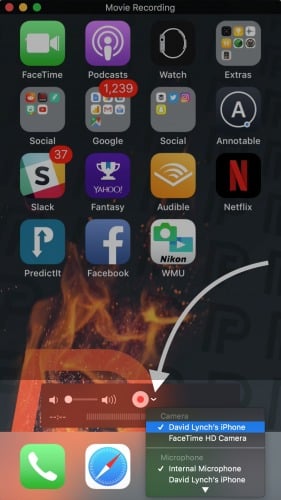
Next, two-finger click on the QuickTime icon in your Mac’s Dock and click New Movie Recording. If the movie recording isn’t set to your iPhone, click the down arrow to the right of the circular red button. Finally, click the name of your iPhone to record from it.
To record the screen on your iPhone, click the red circular button in QuickTime. To stop recording, click the button again (it will appear as a square gray button).
iPhone Screen Recording Made Easy!
This new feature has made it easy for anyone to record an iPhone screen. We love this new feature and use it in nearly every video we post to the Payette Forward YouTube channel. Thanks for reading, and remember to always Payette Forward!
All the best,
David L.